
Build an n8n AI Image Generation Workflow for Blogs
At a glance
- In shortLearn how to build an automated n8n pipeline to generate and attach blog images.
- Best forSolopreneurs looking to automate content image generation
- Tools coveredn8n, DALL-E 3, GPT-4o
- PricingMixed
- Skill levelIntermediate
- Key pointsn8n handles binary data natively without per-megabyte transfer fees. · LLMs optimize raw titles into visually consistent image prompts. · Convert temporary image URLs to binary files to prevent link expiration.
- Heads-upProcessing binary images on low-RAM servers can cause memory spikes and crashes.
Last November, I sat in my Seoul apartment staring at 40 completed draft posts that all needed featured images. I was spending nearly four hours every week writing prompts, generating images manually inside web interfaces, downloading them to my desktop, running them through compression tools, and uploading them to WordPress one by one. As a solo creator managing multiple automated content channels, that manual step was eating up a massive chunk of my operational time.
I needed a system that could take a blog post title or summary, generate a contextually relevant image prompt, call an image generation model, process the resulting media file, and attach it directly to the CMS post draft—all without my manual intervention. That is when I built a dedicated n8n ai image generation workflow.
In this guide, I will break down how to construct this automated pipeline, the exact node logic required to handle image binary data, the costs involved, and the practical limits I ran into while scaling it across my own websites.
Why Choose n8n for Automated Media Pipelines?
When creators start looking into media automation, they usually try Zapier or Make first. I used Make for months to handle simple data syncs, but image workflows present a unique set of challenges that make traditional SaaS automation platforms expensive and restrictive.
- Binary Data Handling: Images are heavy binary files. Many automation platforms charge based on data transfer volume or operation counts that explode when you split, resize, or transform image files. n8n handles binary data natively in memory or via local disk storage without charging per-megabyte penalties.
- Execution Costs: Generating 100 featured images per month requires multiple steps per article (prompt generation, API calls, error checking, file upload). On task-based pricing models, your bill scales rapidly. With n8n self-hosted, your execution cost is essentially zero beyond your hosting server. If you use n8n Cloud, plans typically start around the $20/month range for standard execution tiers, though you should always verify current rates on the official n8n pricing page.
- Custom API Flexibility: Not every AI image tool has a pre-built node in every automation app. n8n makes standard HTTP Request nodes easy to configure, allowing you to connect to OpenAI’s DALL-E, Stability AI, or self-hosted Stable Diffusion endpoints seamlessly.
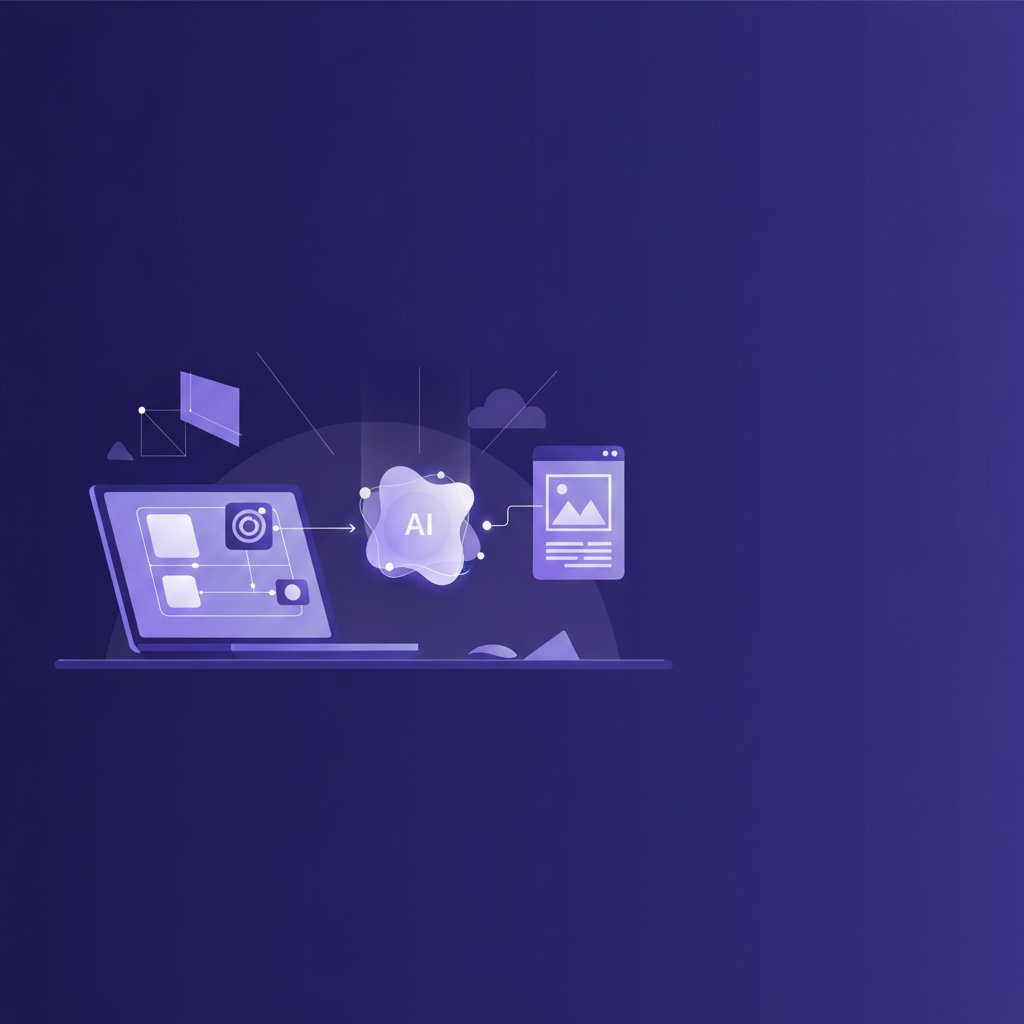
The Architecture of the Image Generation Pipeline
Before connecting nodes inside n8n, it helps to understand the data flow. The objective is not just to request an image, but to build a robust pipeline that cleans up inputs, generates stable prompts, formats media correctly, and handles API downtime.
Here is how the automated flow is structured:
- Trigger Node: Listens for a new post event (a new entry in Google Sheets, a Webhook from Notion, or a new draft created in WordPress).
- Prompt Optimization Node: Uses an LLM (such as GPT-4o or Claude) to convert an article title into an effective, visual-focused image prompt.
- API Request Node: Sends the generated prompt to an image generation API endpoint (like OpenAI’s DALL-E 3 or a Replicate deployment).
- Binary Fetch & Transform Node: Receives the image URL or base64 string, converts it to a standard binary file inside n8n, and formats the filename cleanly.
- Upload & Association Node: Uploads the binary payload to your destination (WordPress Media Library, Amazon S3, or Google Drive) and attaches the media ID back to your article draft.
Step-by-Step: Setting Up the Workflow in n8n
Step 1: Setting the Trigger and Preparing Content Data
Your workflow begins with a trigger. In my production setup, I trigger the pipeline via a WordPress hook whenever a draft is generated, or from a row update in Google Sheets where I store my content calendars.
Ensure your trigger node passes at least two fields down the line: the Article Title and the Primary Category/Topic. Passing just the title often leads to generic images, so including topic tags gives downstream nodes better context.
Step 2: Generating a Consistent Prompt with LLMs
Passing raw blog titles directly into an image model produces inconsistent, text-heavy, or bizarre outputs. To fix this, place an OpenAI or LangChain node between the trigger and the image generator.
Configure your prompt node with a system message focused entirely on visual description. For my tech blogs, I use a prompt structure similar to this:
“You are an expert art director. Take the following article title and extract a visual metaphor suitable for a modern tech editorial image. Avoid text inside the image. Describe style, lighting, color palette, and main subjects in under 50 words. Title: {{ $json.title }}”
This step ensures every image generated shares a consistent stylistic language—for instance, minimal vector art, dark-mode 3D renders, or photographic styles—rather than wildly different visual styles for every post.
Step 3: Executing the Image Generation API Call
Depending on your preferences, you can use the built-in OpenAI node (if using DALL-E 3) or an HTTP Request node (if using Replicate, Midjourney third-party proxies, or Stability AI).
If using the OpenAI node for DALL-E 3:
- Select the Generate Image operation.
- Map the prompt field dynamically to the output of your LLM prompt node:
{{ $json.output }}. - Set the resolution (e.g., 1024×1024 or 1792×1024 for wide featured banners).
- Select
StandardorHDquality depending on your budget. Keep in mind that API costs vary per image based on resolution and model quality; check the official OpenAI pricing page to project your monthly media expenses.
Step 4: Converting URL Data into Binary Storage
Image APIs usually return a temporary hosted URL containing your generated JPG or PNG file. Relying on those temporary links is a mistake because they often expire within an hour.
Add an HTTP Request Node set to GET the URL provided by the previous step. Under the Options section of this HTTP node, set the output to Response Format: File / Binary Data. Name the output binary property something standard like data.
Next, pass this data through a Code Node or use n8n’s expression engine to rename the file using your blog’s slug. For example: {{ $json.slug }}.png. Clean file names are crucial for maintaining web accessibility and SEO standards on your sites.
Step 5: Uploading Media to WordPress
Once the binary data is stored temporarily in n8n, use the native WordPress Node:
- Select the Media resource and Upload operation.
- Select the binary property name (e.g.,
data). - Capture the returned
Attachment IDfrom WordPress. - Add a second WordPress node set to Post: Update to set the
Featured Mediafield of your draft post equal to the newly created Attachment ID.
Comparing Automation Platforms for Media Workflows
Here is how n8n compares against other popular automation tools when handling heavy image workflows:
| Platform | Hosting & Data Control | Cost Efficiency for Media |
|---|---|---|
| n8n (Self-Hosted) | Full control on VPS / Docker | High (Unlimited executions) |
| n8n Cloud | Managed SaaS hosting | Predictable (Execution-based) |
| Make | Managed SaaS hosting | Medium (Operations stack up) |
| Zapier | Managed SaaS hosting | Low (Task limits add up quickly) |
Real-World Bottlenecks and Limitations
While an automated pipeline sounds seamless on paper, running this in production across several publishing channels revealed several practical issues you should plan for:
- Server Memory Limits: If you self-host n8n on a cheap $5/month VPS with 1GB RAM, processing multiple high-resolution binary image files simultaneously can cause Docker container memory spikes and crash your instance. Make sure your server has swap memory enabled or at least 2GB to 4GB of RAM.
- Rate Limits and Timeouts: Image models take anywhere from 5 to 30 seconds to render a single file. Standard HTTP requests inside automation flows can occasionally timeout. You must set retry logic on your API nodes inside n8n to handle temporary provider slowdowns without killing the whole pipeline execution.
- Quality Control Artifacts: AI image models still struggle with precise details, embedded text, and rendering realistic hands or logo marks. Automated pipelines mean you lose manual oversight over individual images. I strongly advise configuring your workflow to output to draft status so you can quickly review media before publishing posts live.

My Take
If you publish more than 15 to 20 content pieces a month, setting up an n8n ai image generation workflow is one of the highest-ROI automations you can build. It takes around two to three hours to set up correctly, but saves dozens of operational hours down the line.
For solo creators who are technically comfortable managing basic server configurations or running Docker, self-hosting n8n is the clear winner for cost efficiency. If server management sounds intimidating, n8n Cloud offers the exact same node capabilities with managed uptime, though you will want to track execution counts. Either way, delegating prompt conditioning, API rendering, and media uploading to an automated workflow allows you to spend your time focused on high-level content strategy rather than tedious file management.
FAQ
Can I use Midjourney inside an n8n workflow?
Midjourney does not currently offer an official REST API for public integrations. To use image pipelines in n8n, creators typically rely on OpenAI’s DALL-E 3, Stability AI, or hosted deployments on platforms like Replicate. Always check the terms of service and availability for third-party wrapper APIs if you attempt to automate Midjourney directly.
How much does it cost to run an AI image workflow per month?
Your total cost depends on two factors: your automation infrastructure (self-hosted n8n server costs versus n8n Cloud subscription tiers) and your third-party API usage. Image APIs typically charge per generation based on model parameters and resolution. Check official pricing pages for both n8n and your selected AI providers to calculate projected monthly costs.
What happens if an image generation API request fails mid-workflow?
n8n includes built-in error handling features. You can enable Continue On Fail settings on individual nodes, attach error trigger branches, or set nodes to automatically retry requests up to three times with exponential backoff. This ensures a temporary API outage does not stop your main content workflow from completing.
More on Content Automation Workflows
- Organizing AI Images in NotionA step-by-step guide to building a Notion database for organizing AI images, prompts, and metadata.
- Automating Pinterest Pins with Canva and MakeGuide to automatically generating Pinterest graphics from blog titles using Make, Canva, and ChatGPT.
- Auto-Generate WordPress Featured ImagesLearn how to automatically create and attach featured images to WordPress posts using Zapier and AI tools.
See every Content Automation Workflows post in our AI Image & Video guide.
Handy toolsAI tool ROI calculator · AI tool pricing · AI Tool Finder